
Active Directory Federation Services (AD FS) is a Microsoft software component that authorizes users to use single sign-on functionality. The software runs on Windows Server operating systems (OS), and it is best suitable for applications and devices that lack the ability to use Integrated Windows Authentication (IWA) through Active Directory (AD). This feature also helps various systems and applications outside the corporate firewall to extend end users’ single sign-on (SSO) access. Further, it helps keep an account of usernames and passwords, reduces password management complexities, guest account provisioning, and more. ADFS on Windows Server 2022 is the latest version.
The software component practices a claims-based access control authorization model to implement federated identity and maintain a secure application across enterprise boundaries. This model validates a user on the basis of a set of claims associated with its identity. As a result, Active Directory Federation Services enables users to access a few applications (on the cloud or hosted by other companies) without submitting login credentials again. Further, it allows centralized access management of user accounts.
Components of ADFS?
ADFS comprises four vital components, including:
Active Directory: Any information related to the users’ identity is stored in Active Directory to be later used by ADFS.
Federation server: The federation server routes the external user’s request and issues tokens for claims as and when AD verifies the credentials. The Federation server comprises tools that help build a trust relationship between network partners.
Federation server proxy: Federation servers are not exposed to the Internet due to security risks but deployed in an organization’s perimeter network. Thus, when a request for the security token is passed, the external clients connect to the Federation proxy server, which further sends the request to the federation server.
ADFS web server: The ADFS web server hosts Windows token-based agent roles for managing security tokens and validating cookies sent to the webserver to verify an external user.
In this post, we will show you how to install ADFS on Windows Server 2022.
Also Read
How to Setup an ADFS Farm on Azure, AWS or GCP
Table of Contents
ADFS Prerequisites
- A system running Windows Server 2022.
- Windows Active Directory Domain and your ADFS server added to your domain.
Also Read
How to Setup a New Active Directory Domain on Azure/AWS/GCP IaaS VM
Create a Self-Signed SSL Certificate for ADFS
Before starting, you will need to create a self-signed SSL certificate to access the ADFS Server from the internet.
First, open the Windows PowerShell as an administrator user and run the following command to install the PSPKI module.
Install-Module -Name PSPKICopy
Next, run the following command to import the PSPKI module:
Import-Module PSPKICopy
Next, run the following command to create a self-signed SSL certificate for domain exampledomain.com:
New-SelfSignedCertificateEx -Subject 'CN=exampledomain.com' -ProviderName "Microsoft Enhanced RSA and AES Cryptographic Provider" -KeyLength 2048 -FriendlyName 'ADFS SelfSigned' -SignatureAlgorithm sha256 -EKU "Server Authentication", "Client authentication" -KeyUsage "KeyEncipherment, DigitalSignature" -Exportable -StoreLocation "LocalMachine"Copy
Once you are finished, you can proceed to the next step.
Also Read
How to Setup Active Directory Certificate Services (PKI) in Azure, AWS, GCP (Certificate Authority)
Export a Self-Signed SSL Certificate
At this point, you have created the Self-signed SSL certificate. Now, you will need to export it and add it to the ADFS instance.
Follow the below steps to export the SSL certificate:
Step 1 – Search for MMC and open the Microsoft Management Console as shown below.

Step 2 – Click on the File => Add/Remove Snap-in. You should see the following screen:
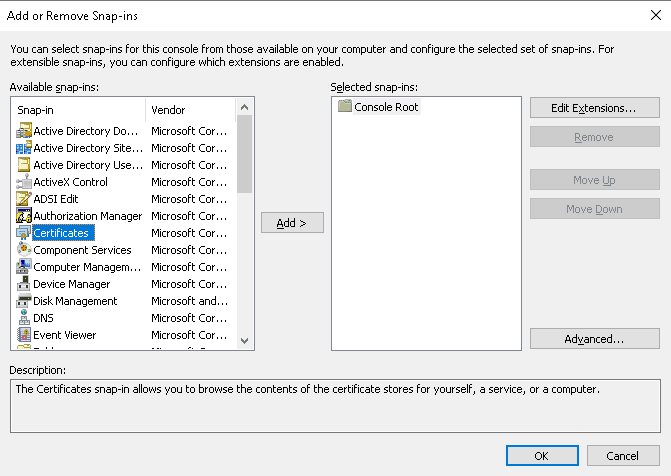
Step 3 – Select Certificates and click on the Add button. You should see the Certificates snap-in screen:
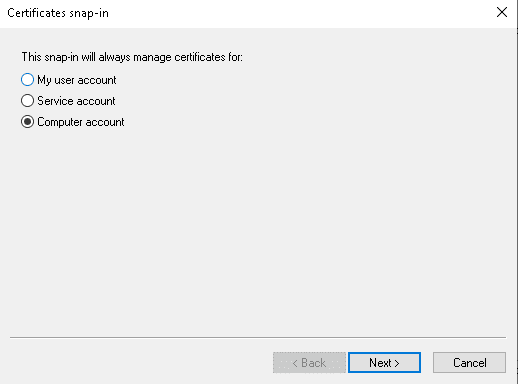
Step 4 – Select the Computer Account and click on the Next button. You should see the following screen:
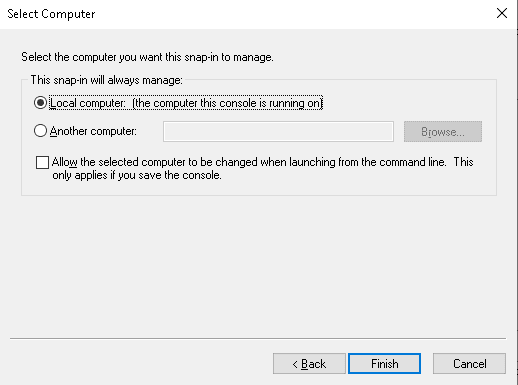
Step 5 – Select the Local Computer and click on the Finish button. You should see the following screen:
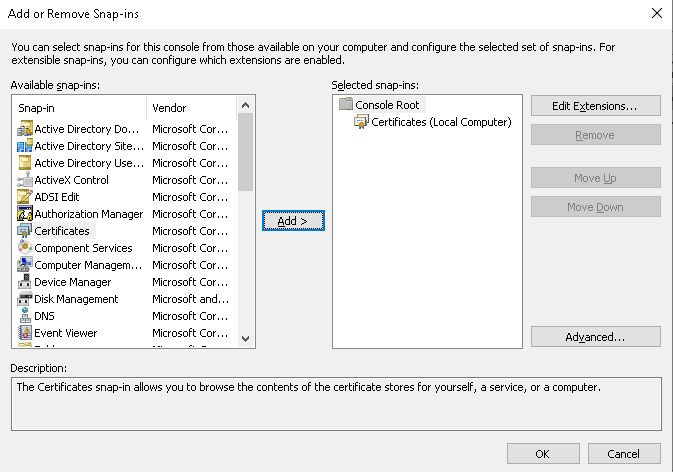
Step 6 – Click on the OK button. You should see the MMC main window.
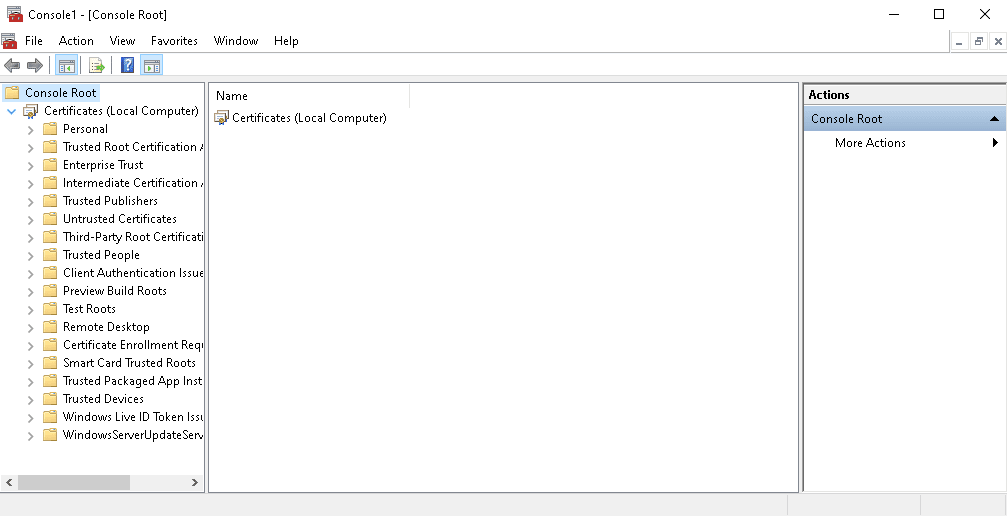
Step 7 – Now, expand the Personal folder and click on the Certificates. You should see the certificate which you have made using the Powershell Module.
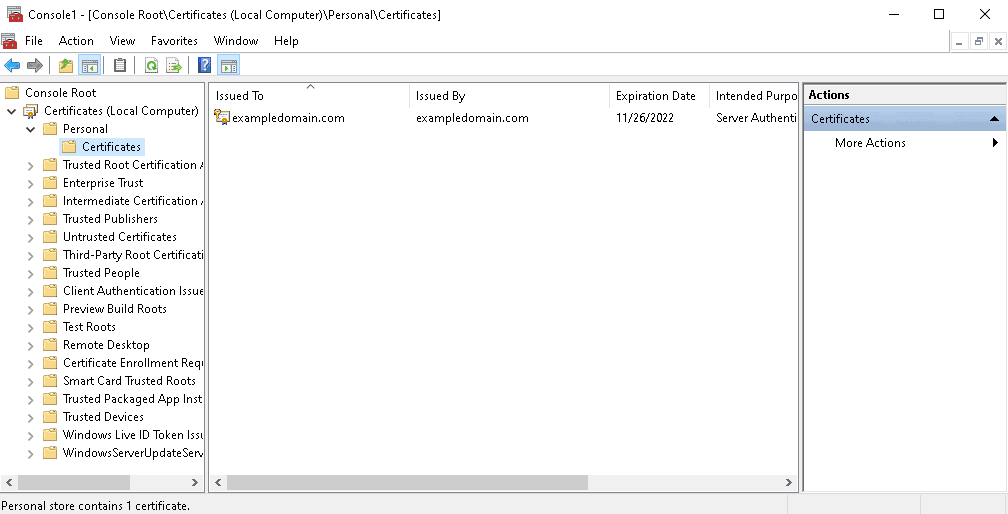
Step 8 – Right-click on the certificate => All Tasks then click on the Export. You should see the Certificate Export screen:
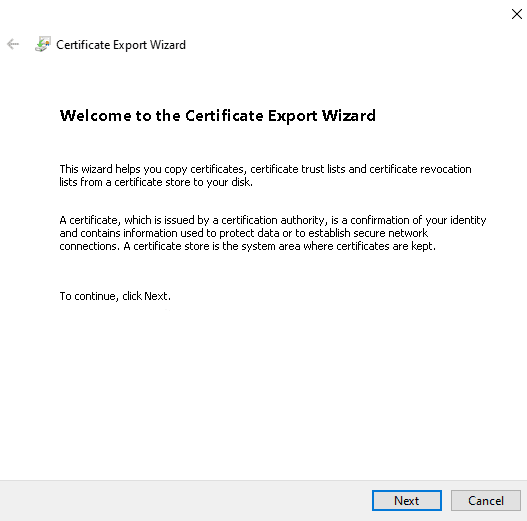
Step 9 – Click on the Next button. You should see the following screen:
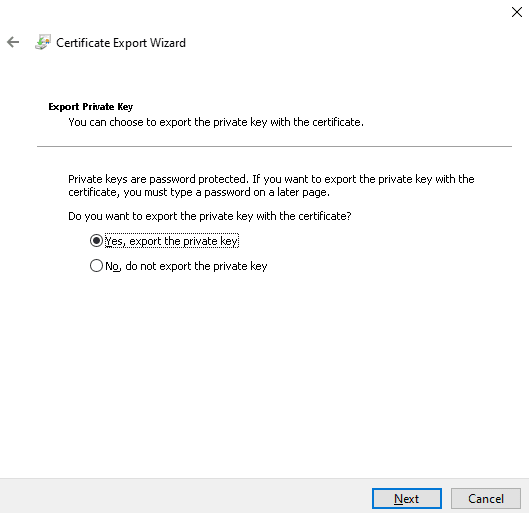
Step 10 – Select “Yes, export the private key” then click on the Next button. You should see the following screen:
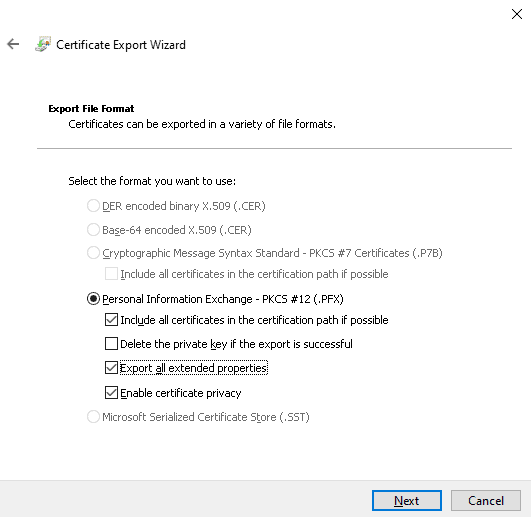
Step 11 – Select “Personal Information Exchange” then click on the Next button. You should see the following screen:
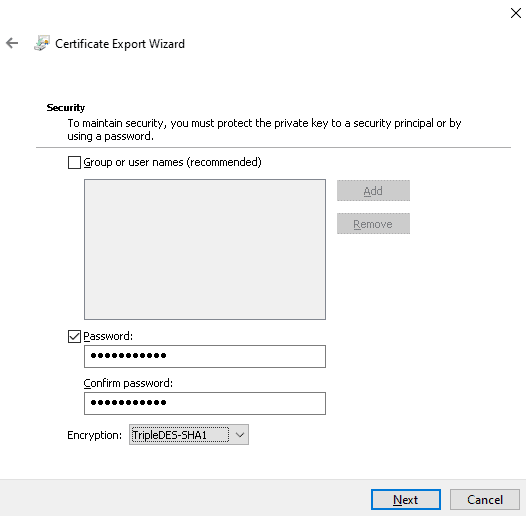
Step 12 – Select Password then provide a password for the private key and click on the Next button. Then, click on Browse and choose any folder where you want to save the certificate. You should see the following screen.
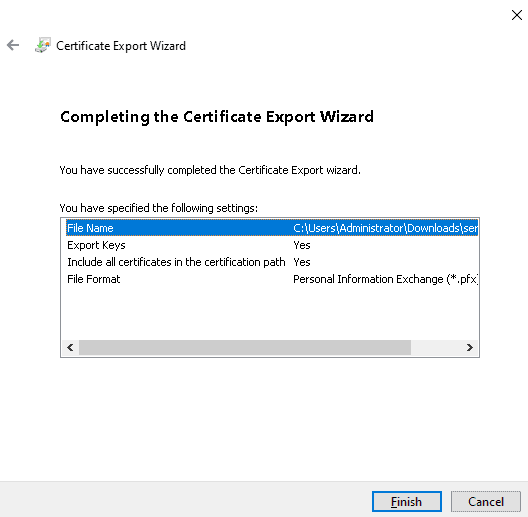
Step 13 – Click on the Finish button to complete the certificate export wizard.
Also Read
ADFS vs LDAP – What’s the Difference ? (Explained)
Install Active Directory Federation Services (ADFS) Windows Server 2022
At this point, we have created and exported the self-signed SSL certificate. Now, follow the below steps to install the ADFS on the server.
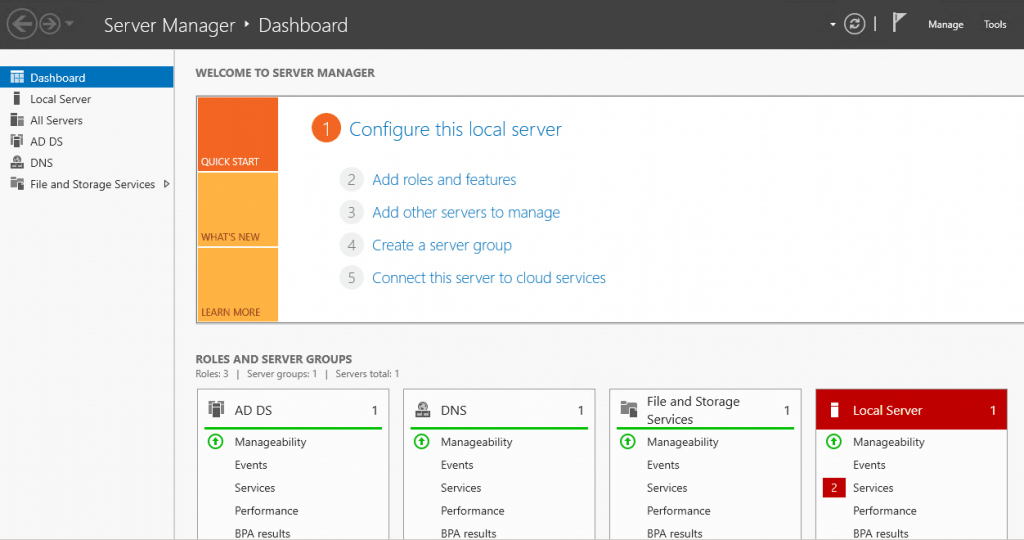
Step 1 – Search for Server Manager and open it as shown below:
Step 2 – Click on the Add Roles and Features. You should see the select installation type screen:
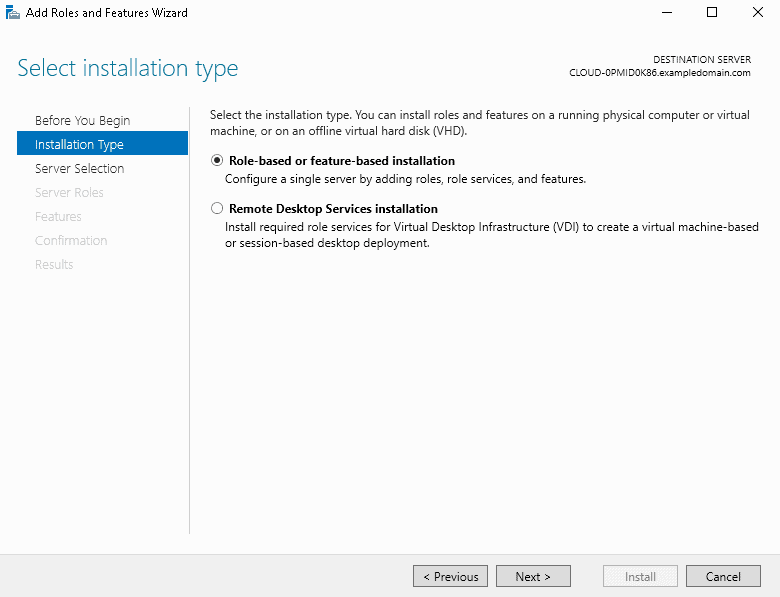
Step 3 – Select the Role-based or feature-based installation and click on the Next button. You should see the Server Selection screen:
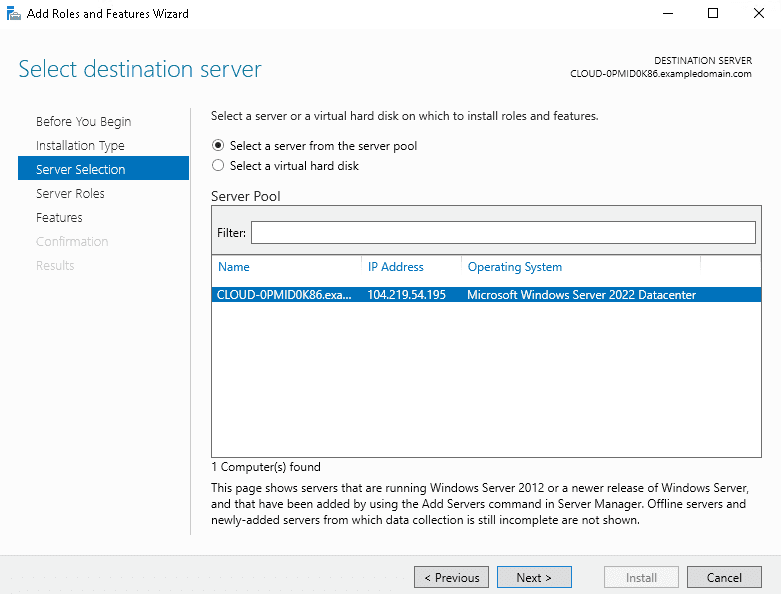
Step 4 – Select your server and click on the Next button. You should see the Select Server Roles screen:
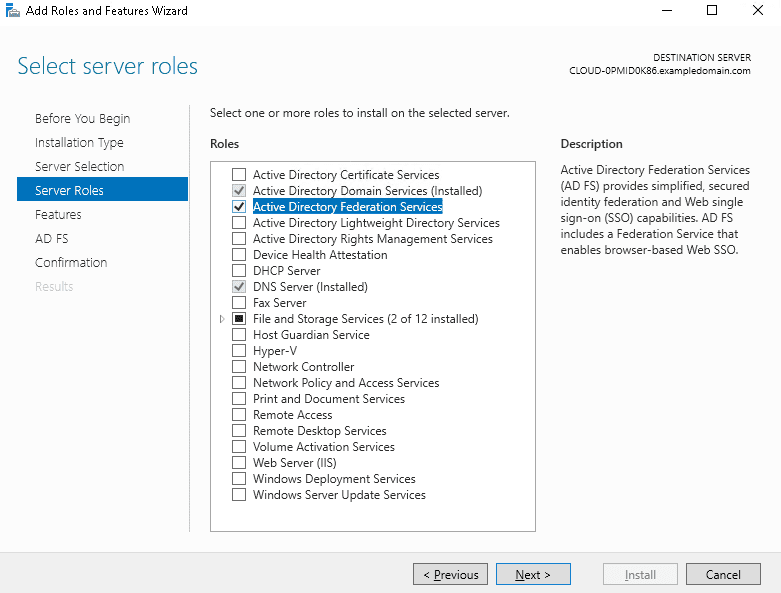
Step 5 – Select the Active Directory Federation Services roles and click on the Next button. You should see the Features screen:
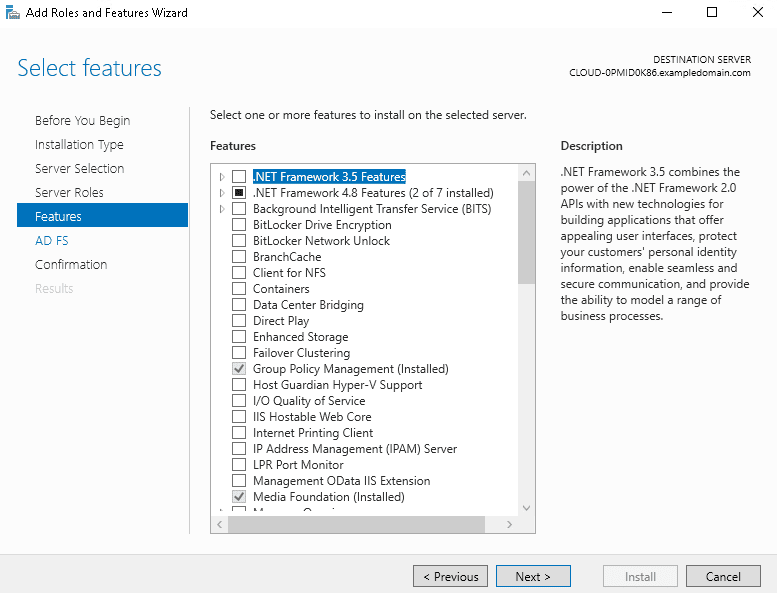
Step 6 – Click on the Next button. You should see the AD FS screen:
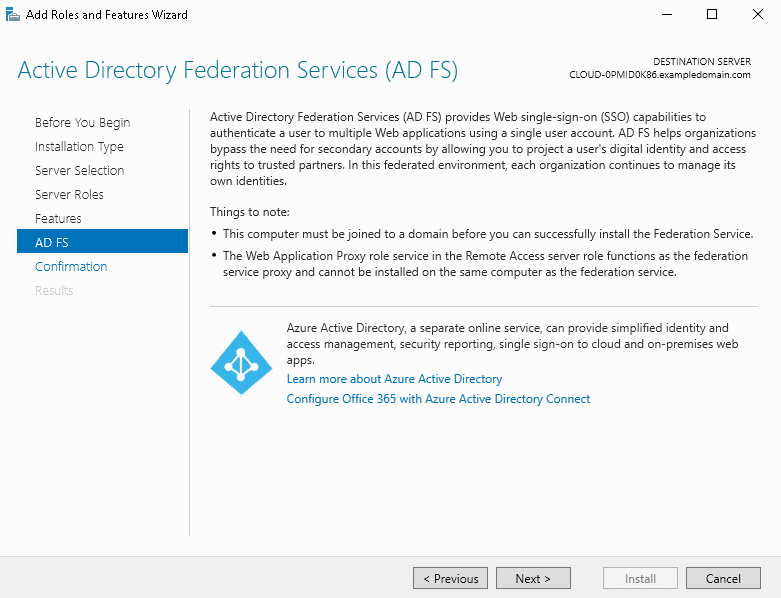
Step 7 – Click on the Next button. You should see the AD FS confirmation screen:
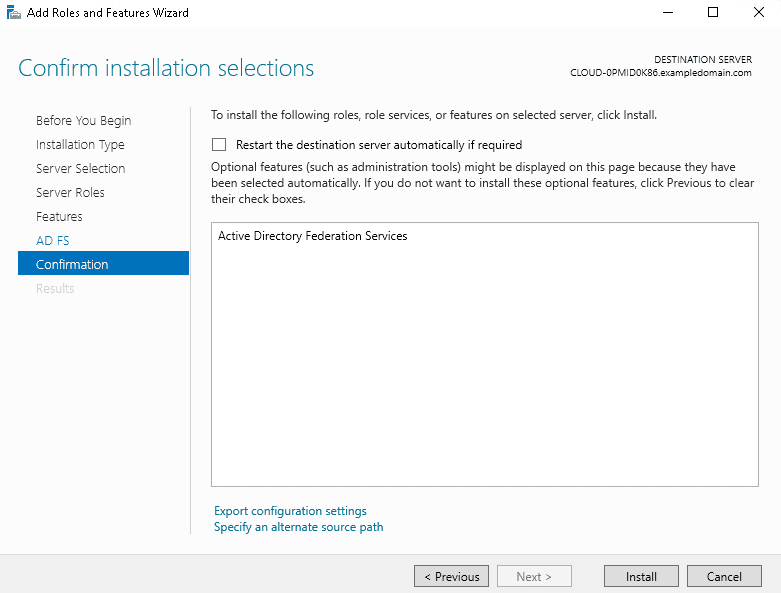
Step 8 – Click on the Install button to start the installation. Once the installation has been finished, click on the Close button to close the AD FS window.
Also Read
Certificate Enrollment using Active Directory Certificate Services
Configure ADFS – Active Directory Federation Services
At this point, ADFS is installed and running on your server. Now, you will need to connect it to your Active Directory Domain Service instance and upload your SSL certificate.
Follow the below steps to configure the ADFS:
Step 1 – After the ADFS installation, you should see a notification icon at the top of your Server Manager window as shown below:
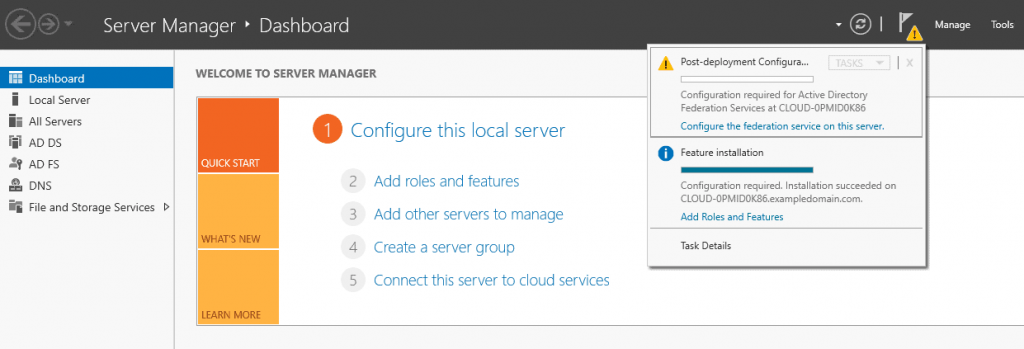
Step 2 – Click on that icon and click on Configure the federation service on this server. You should see the Active Directory Federation Services Configuration Wizard:
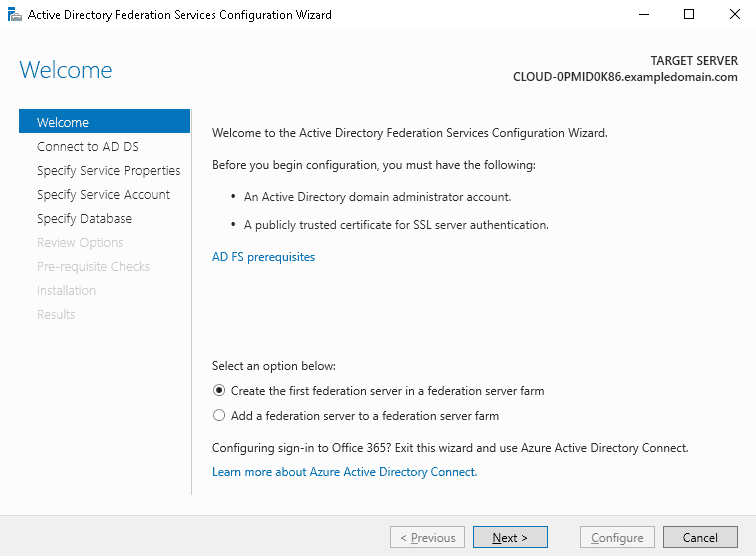
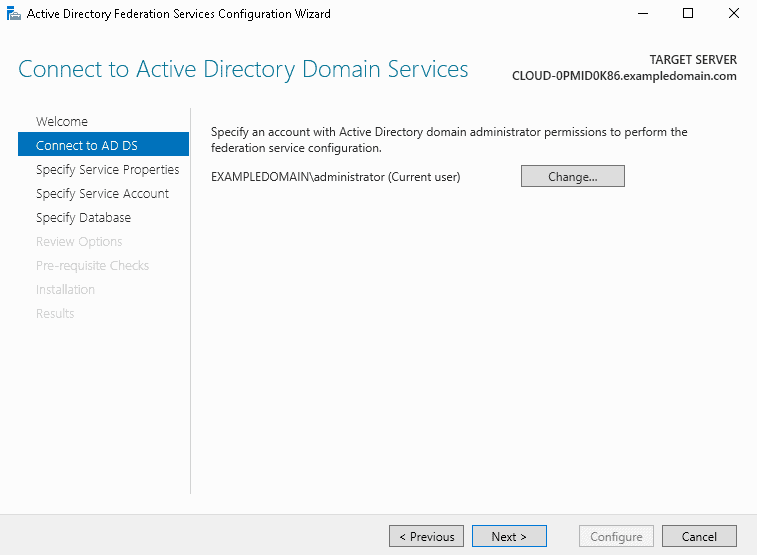
Step 3 – Select the Create the first federation server in a federation server farm and click on the Next button. You should see the Connect to AD DS windows:
Step 4 – Click on the Next button. You should see the Specify Service Properties screen:
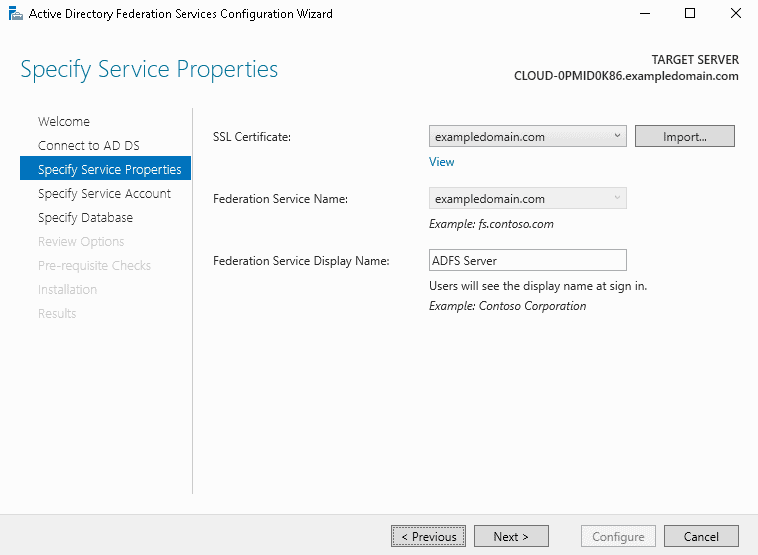
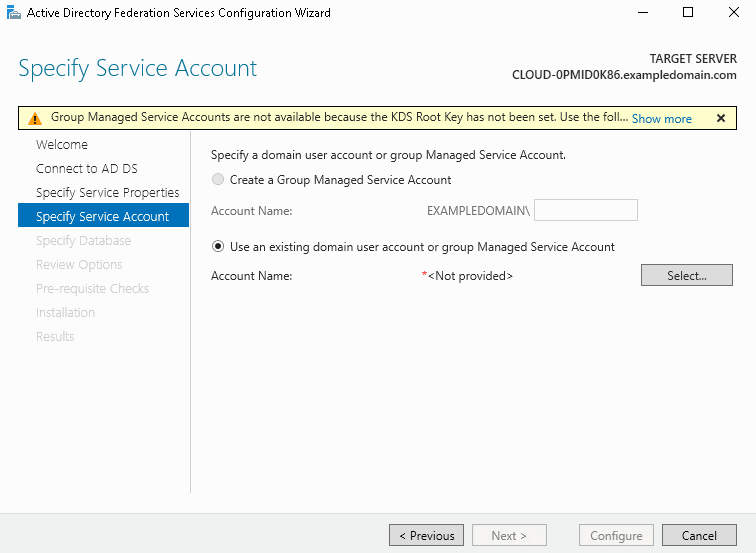
Step 5 – Click on the Import button and select the certificate that you exported from the Microsoft Management Console. Provide your Federation Service Name and Display name then click on the Next button. You should see the following screen with the error message “Group Managed Service Accounts are not available because the KDS Root Key has not been set”.
Step 6 – To resolve this error, open the Windows PowerShell and run the following command:
Add-KdsRootKey -EffectiveTime (Get-Date).AddHours(-10)Copy
Step 7 – Now, go back to the ADFS configuration wizard. The error message will now be gone as shown below:
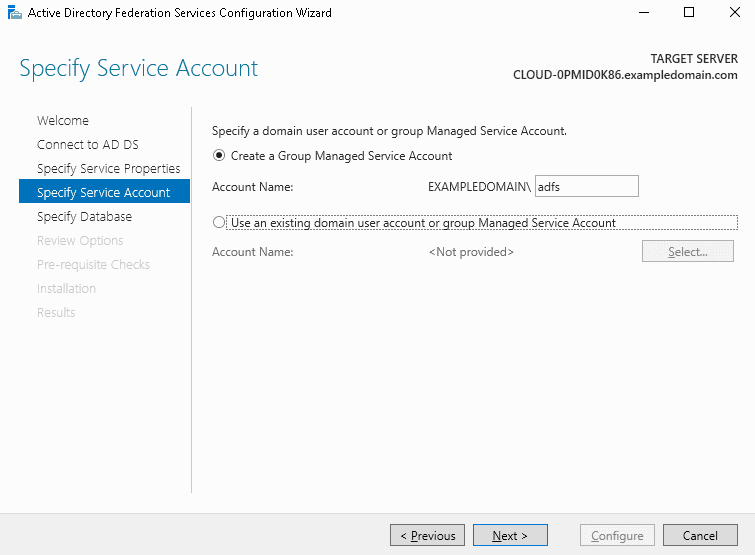
Step 8 – Select Create a Group Managed Service Account, provide an account name and click on the Next button. You should see the Specify Database screen:
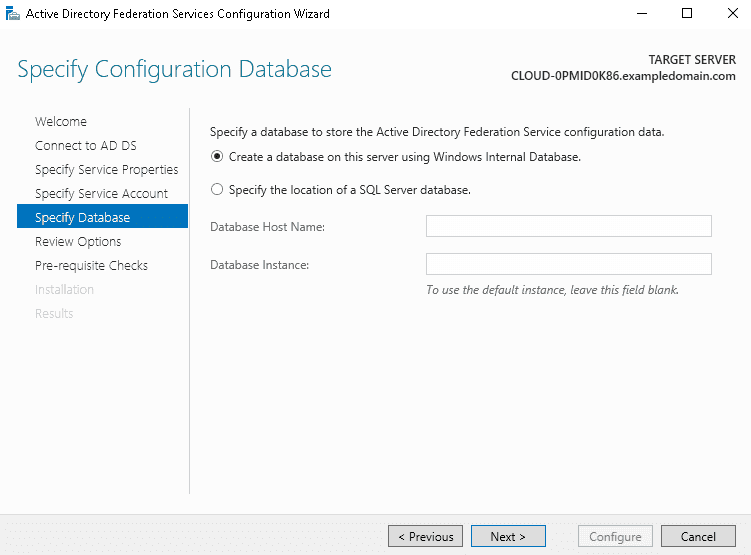
Step 9 – Select Create a database on this server using Windows Internal Database then click on the Next button. You should see the Review Options screen:
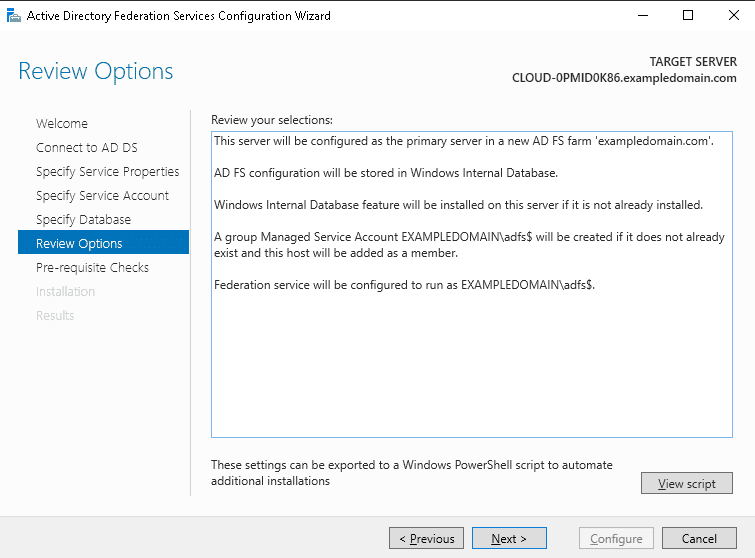
Step 10 – Review all options and click on the Next button. You should see the Pre-requisites Checks screen:
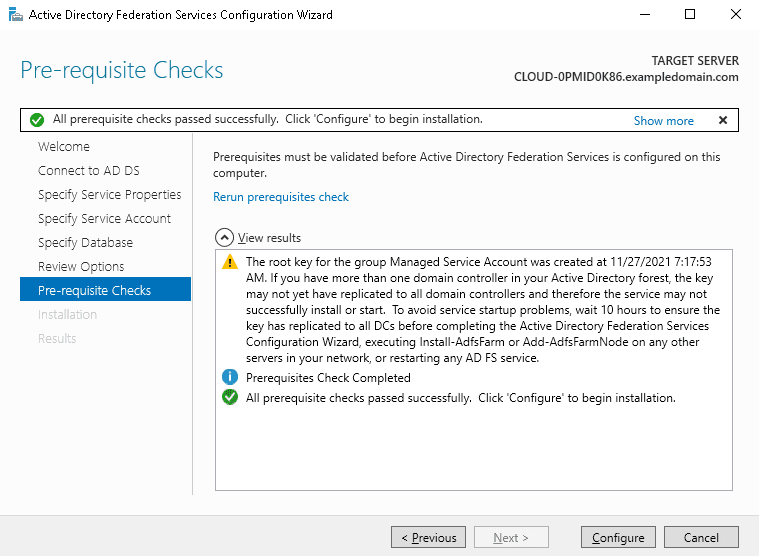
Step 11 – Click on the Configure button to start the configuration. Once the ADFS has been configured successfully, you should see the following screen:
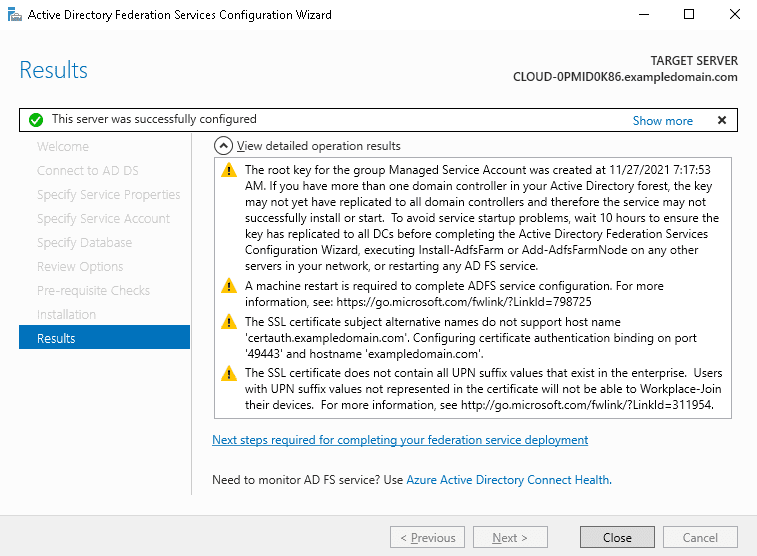
Step 12 – Click on the Close button to close the configuration wizard window.
Also Read
Top 10 Single Sign On Solutions Open Source (Pros and Cons)
Access ADFS Console
At this point, ADFS is installed and configured. All ADFS endpoints will include your Fully Qualified Domain Name followed by a URL path.
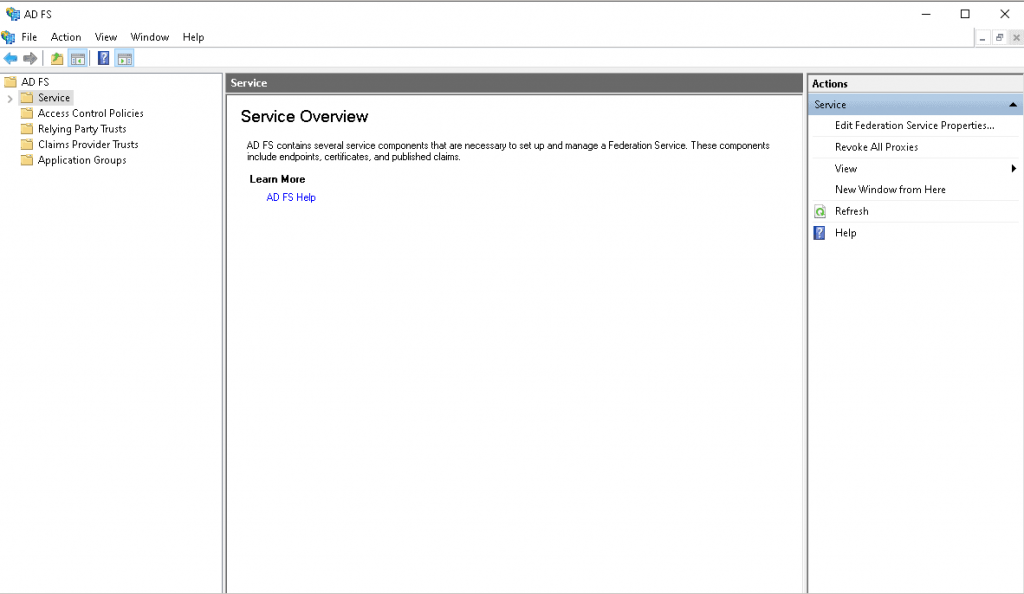
To check all ADFS endpoints, open the Server Manager => Tools then click on the AD FS Management. You should see the ADFS console on the following screen:
Now, expand the Service folder and click Endpoint. This will display all endpoints of your ADFS instance.
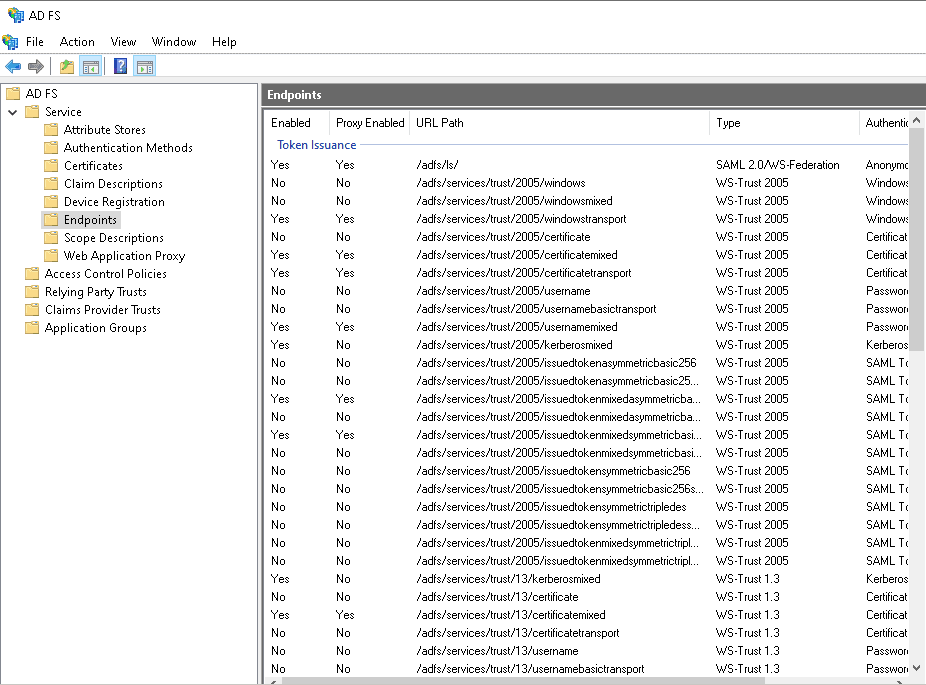
In the above screen, you can find your Single Sign On URL path in the “Token Issuance” section of the Endpoints window. This value will be “/adfs/ls”. In this case, the full Single Sign On URL will be “adfs.exampledomain.com/adfs/ls/“.
You can also find the Metadata URL path In the Metadata section as shown below:
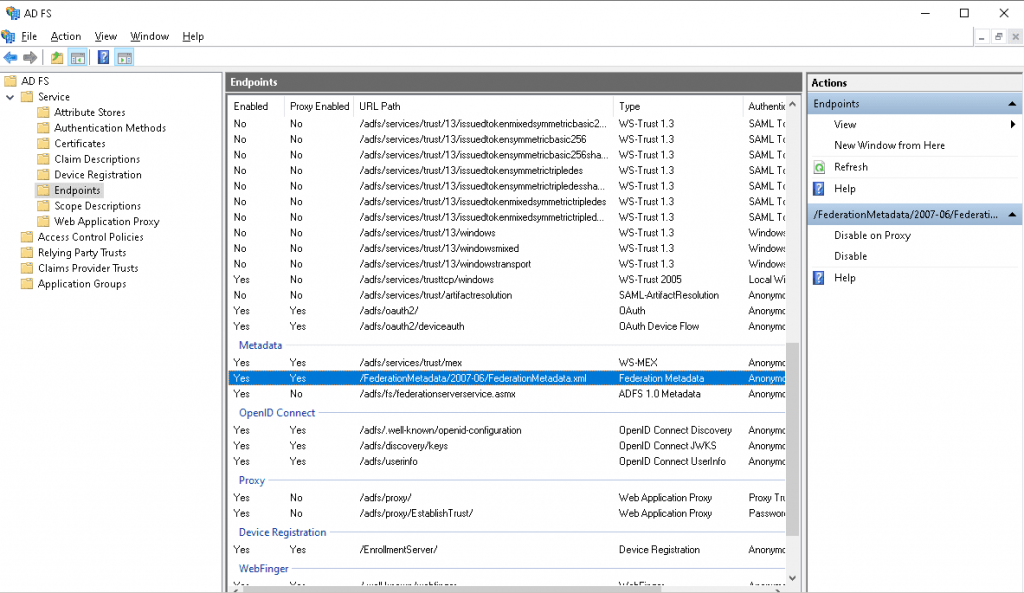
In this case, the full Metadata URL will be “adfs.exampledomain.com/FederationMetadata/2007–06/FederationMetadata.xml“.